For aspiring baseball players aiming to secure a roster spot on a college team, creating a compelling exposure video is a vital step in the recruiting process. College coaches view hundreds of videos each year, so it’s essential for players to stand out with a clean, professionally structured, and visually impressive presentation. A well-crafted baseball exposure video provides the opportunity to demonstrate athletic skills, baseball IQ, and position-specific abilities, giving coaches the insight they need to evaluate your potential from afar.
Below, you’ll find a detailed guide on how to create a baseball exposure video that captures the attention of college coaches and communicates your abilities effectively.
1. Understand the Purpose of the Exposure Video
A baseball exposure video is not about showcasing your best highlight reel. Instead, it provides a comprehensive view of your raw, repeatable skillsets from various angles. Unlike flashy professional highlight montages, coaches want short, targeted clips that simulate game situations and emphasize fundamentals, consistency, and mechanics. Your goal is to help them picture how you would contribute to their program.
2. Plan and Structure the Video
Time is valuable for college coaches. Therefore, the video should be concise—typically no longer than 4 to 6 minutes—and well-organized. A strong video layout might include:
- Title card with athlete information — Include your full name, graduation year, primary and secondary positions, height, weight, high school, travel team, and contact information.
- Warm-up throws or swings (brief) — Showcase your mechanics early.
- Position-specific defensive drills — Fielding grounders, turning double plays, catching pop-ups or throws to second, etc.
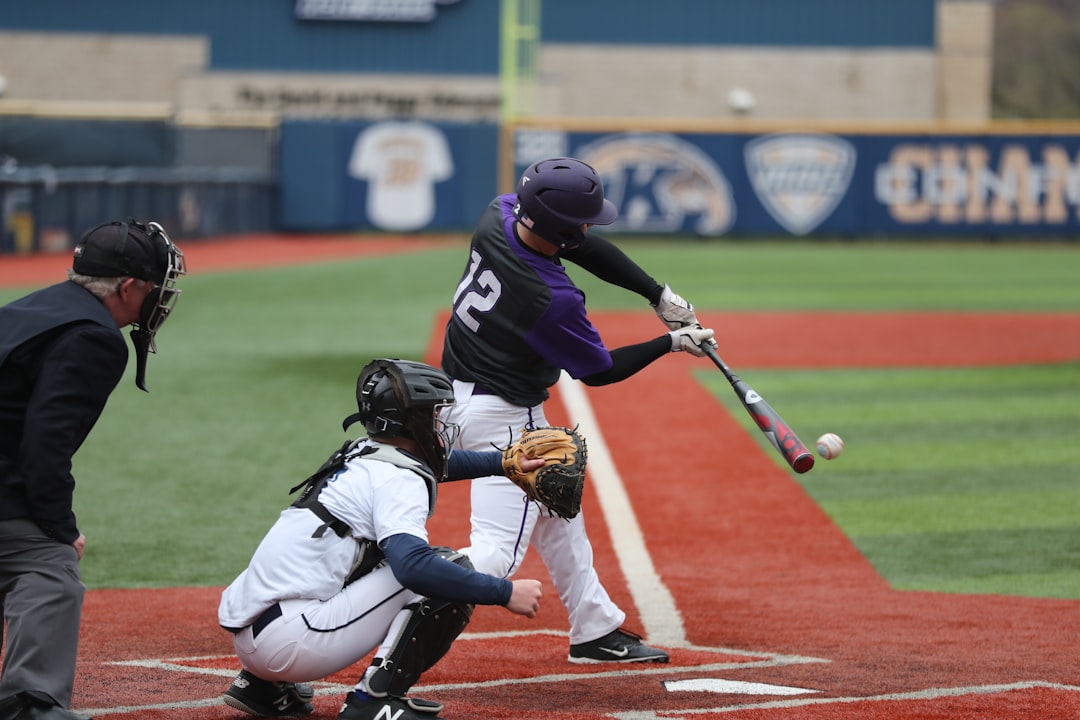
- Batting practice from multiple angles — Showcase mechanics, contact, and power potential.
- Pitching segment (for pitchers) — Include different pitches from multiple camera angles and label each pitch type.
- Game footage (optional) — Only include game clips that clearly highlight your performance.
Each segment should be labeled and flow logically from one skill to the next. Avoid long pauses or unnecessary transitions.
3. Use the Right Equipment and Angles
While you don’t need a professional video crew, your footage should be steady, well-lit, and clear. Use a tripod or stable surface to avoid shaky videos. Capture drills during the day or in a well-lit facility.
Proper camera angles are essential for evaluation:
- Pitchers: Behind the catcher and side-angle views show velocity, arm action, and mechanics.
- Infielders: Angles from both the side and behind the fielder help show range and footwork.
- Outfielders: Focus on throwing motion, foot speed, and arm strength (use crow hop into throws).
- Batters: Shoot from behind home plate and the open side to give a full mechanical picture.

4. Show Measurables and Athleticism
College coaches look for measurable traits that indicate athletic potential. Start by including these metrics (if possible, show them with radar guns or timers for validation):
- 60-Yard Dash Time — Demonstrates speed and quickness.
- Exit Velocity — Measures strength and bat speed off the tee or live swing.
- Pop Time (Catchers) — Speed from catch to throw to second base.
- Pitching Velocity — Include radar gun readings during the pitching sequence.
- Infield/Outfield Throwing Velocity — Shows arm strength.
These numbers give coaches quantifiable data to compare you to other prospects. If possible, have a coach or instructor validate and appear briefly to confirm accuracy.
5. Include Personal Highlights – The Right Way
While the emphasis should remain on controlled drill work, 30-60 seconds of game highlights can add valuable context. Choose clips that clearly display your quick reactions, instincts, or powerful plays. Avoid grainy or distant shots, and always limit celebration or unnecessary bravado. Put these clips toward the end as a bonus.
6. Keep It Simple and Professional
A sleek, distraction-free video format is best. Avoid excessive edits, loud music, or unnecessary special effects. Coaches care about performance, not production tricks. Follow these tips:
- Use clean transitions between segments with minimal edits.
- Include clear audio when necessary, especially in pitching or pop times.
- Use readable text overlays for position/title cards—keep them brief and consistent.
Your video is a representation of your professionalism, so every detail counts. A well-organized video suggests that you’re a well-organized athlete.

7. Share and Promote the Video Effectively
Once your exposure video is complete, the distribution stage is critical. Here’s how athletes should share their videos:
- Upload to YouTube or Vimeo — Use a straightforward title including your name, grad year, and position for SEO visibility.
- Send personal emails to college coaches — Research coaches’ preferences and include video links with a short, tailored message and your athletic resume.
- Post on recruiting platforms and social media — Use platforms like Hudl, FieldLevel, or Twitter to increase your reach.
- Follow up — Be proactive about following up with coaches one to two weeks after your initial contact.
8. Regularly Update Your Video
Your abilities will evolve throughout high school. A stagnant video from your sophomore year won’t accurately reflect where you are as a senior. Try updating your video at least once a year or after significant performance improvements. Include improved metrics, physical changes (height, weight, velocity), and new footage when applicable.
Final Thoughts
Creating a baseball exposure video is more than just showing off a few home runs or strikeouts; it’s about presenting yourself as a serious, coachable athlete with a skill set and attitude fit for the next level. The video should mirror how you play in real-game situations and offer coaches a transparent look at your mechanics, versatility, and work ethic.
Remember, college programs across divisions are always seeking players who are a mix of talent and character. Let your video play to both.
Frequently Asked Questions (FAQ)
Q1: How long should a baseball exposure video be?
Typically 4 to 6 minutes in length. It should be long enough to show your complete skill set but short enough to keep a coach’s attention.
Q2: What do college coaches want to see most in a video?
They want to see mechanical fundamentals, athleticism, repeatable skills, and position-specific drills. Game footage is a bonus, not a primary focus.
Q3: Should I include music in my exposure video?
No, it’s better to avoid music. Focus on clarity of skill and professionalism. Music can be distracting and is often not appreciated by coaches.
Q4: Can I film the video on my phone?
Yes, as long as your phone has a high-quality camera and you use a tripod or stable support to avoid shaky footage.
Q5: Where should I send my exposure video?
Email it directly to college coaches, upload it to YouTube or Vimeo, and share it on recruiting profiles and social media.
Q6: How often should I update my recruiting video?
At least once a year, or whenever you improve key metrics or physical tools significantly.
